3W Door Sill Protector Kit Review: Perfect Protection for Your Tesla Model Y
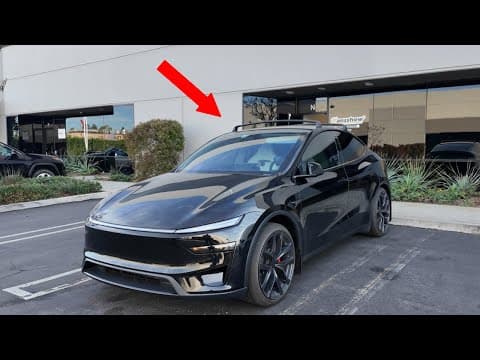
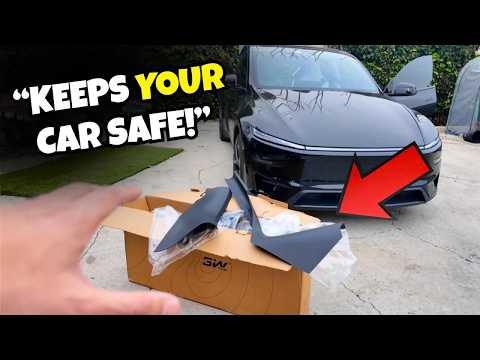
Hey everyone, DennisCW here! If you're like me and love keeping your Tesla Model Y looking pristine, today's video (and this post) is all about the latest 3W door sill protector kit. I've heard mixed feedback on fitment for the Model Y Performance, but some of you swore it fits perfectly on yours. I decided to unbox it, test the install on both a Premium refresh and my Performance, and show you why this 9-piece kit is a game-changer for protecting your interior.
Quick Unboxing: What's in the Box?
This isn't your average accessory—it's a comprehensive 9-piece door sill protector kit designed specifically for the Tesla Model Y. Here's the breakdown:
- Driver and passenger side main sills
- Rear door sills (multiple pieces for perfect coverage)
- Trunk sill protector
- Additional trim pieces for full protection
 Use promo code Dennis35 for 35% off at 3W!
Pair it with 3W's all-weather floor mats (which have removable carpet inserts), and you've got unbeatable protection.
Why You Need This Kit
Tesla's Model Y has carpeted areas in the door sills and trunk that start showing wear after just one month. Dirt, scuffs from shoes, and everyday grime build up fast—especially if you're tracking in mud or snow. This kit sits on top, creating a wipeable barrier that looks almost OEM. No more disintegrating carpet or hard-to-clean stains!

Installation Guide: Step-by-Step
Super easy DIY, but there are a few tricky spots. I demoed it on my Model Y Performance and an older Premium refresh.
Prep:
- Shake out your floor mats (remove OEM carpet ones if stacking).
- Use a trim tool kit for leverage (highly recommended).
Driver's Side Install:
- Start at the top and wedge the piece under the door frame.
- Slide the bottom flange underneath while pushing forward.
- Tuck the rubber side under all trim pieces for a snug fit.

It clicks in perfectly—no adhesives needed. Repeat for passenger, rear doors, and trunk. Pro tip: Roll up carpet mats to store underneath all-weather ones (even if Tesla says not to!).
Fitment Test: Performance vs. Premium
- Premium Refresh: 100% perfect fit. Looks factory-installed.
- Performance: Tight in spots, but it works if you're okay with minor adjustments. Some viewers say it fits flawlessly on theirs—give it a shot!

Real-World Performance
I checked an installed kit on a driven Model Y: Scuff marks? Just wipe 'em off. Dirt stays on the protectors, not the carpet below. The trunk piece is my fave—pairs great with 3W trunk mats and rear seat protectors.

Count 'em: 1-4 for front/rear sills, mirrors on the other side, plus trunk = 9 pieces total.
Final Thoughts
This kit elevates your Model Y's interior protection to pro level. Easy clean, OEM vibe, and tough as nails. Grab yours with Dennis35 for 35% off and thank me later!
What do you think—essential mod or nice-to-have? Drop a comment below, and subscribe for more Tesla upgrades.
Happy modding! 🚀
DennisCW