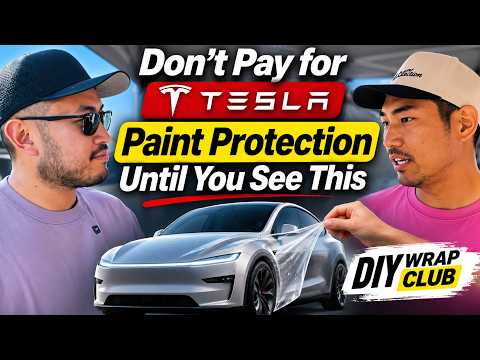
Professional Tesla paint protection often runs $5,000 or more in California, yet the DIY Wrap Club approach delivers full coverage for $1,500 or less while protecting lease returns from steep repair fees.
Quick Verdict
The Tesla DIY PPF wrap kits from DIY Wrap Club deliver real savings without sacrificing protection. After reviewing their process and talking directly with founder J, I recommend starting with clear film on high-impact areas if you want to avoid shop prices and still keep your Tesla looking new.
Why DIY Paint Protection Film Beats Shop Quotes
Tesla paint is thin from the factory, which makes rock chips and swirl marks appear fast. Shops charge premium rates for full-body work, but DIY Wrap Club — save thousands on PPF and tint with DIY kits gives you pre-cut kits plus support that walks you through every step. The difference shows up immediately on lease Tesla paint protection jobs where owners avoid $4,000+ end-of-lease bills.
Best Areas to Protect First
Start with the front-end kit: bumper, hood, fenders, and mirrors. Add rockers next because those lower panels take the most abuse during hard acceleration. On newer Juniper Model Y cars the fit is noticeably easier than older versions, cutting install time.
Cybertruck DIY PPF Experience
Cybertruck owners lean toward color PPF rather than clear, turning the truck into black, blue, or custom finishes while adding protection. The angular design actually makes wrapping simpler than expected, and the ceramic-coated surface underneath stays safe even if you scrub harder during washes.
Tesla Wrap vs PPF Comparison
Traditional vinyl wraps change color but offer less rock-chip resistance. True DIY paint protection film adds self-healing layers that absorb impacts vinyl cannot. For daily drivers that see highway miles, the PPF route wins on longevity and resale value.
Time Commitment and Learning Curve
Expect six to twelve hours for the front section on your first try. Begin with the flat hood to build confidence, then move to fenders before tackling the bumper. Mistakes are fixable because the film stays repositionable with soapy water, and the company offers free replacement panels for members.
Pros and Cons
| Aspect | Pros | Cons |
|---|---|---|
| Cost | Saves $3,000–$4,000 vs shops | Upfront kit price still higher than tint |
| Support | Live help plus video courses | Requires patience and steady hands |
| Lease Protection | Prevents damage fees on return | Not as thick as multi-layer pro installs |
| Finish Options | Clear, matte, and color PPF available | Color film edges need precise trimming |
Final Verdict
If you own a Model Y, Model 3, or Cybertruck and want to skip the dealer upcharge, the Tesla DIY PPF wrap route from DIY Wrap Club is the smartest money move. Beginners should start with clear film on the front end, follow the provided guides, and expand later. The combination of pre-cut accuracy, strong community support, and massive cost reduction makes this the best current option for protecting Tesla paint on a budget.
Some links are affiliate links that support the channel at no cost to you.